

Building a gaming PC is a fulfilling endeavor. You get the unparalleled freedom to have fully customized and performance oriented Gaming PC tailored to your exact needs. This detailed guide will walk you through every aspect of how to build a gaming PC. We will every aspect starting from planning and selecting components to assembly and troubleshooting. So, without further ado, let’s dive in!
Planning Your Build For a Gaming PC
Step 1 – Determine Your Budget
Before purchasing any components, it’s crucial to establish a budget. Your budget will determine the quality and performance of your gaming PC. Consider how much you’re willing to spend overall and how you’ll allocate funds across different components. A balanced budget ensures you don’t overspend on one part at the expense of another.
Step 2 – Choose Your Components
The components you choose will define your PC’s performance and capabilities. Here’s a breakdown of the essential parts you’ll need:
- Central Processing Unit (CPU)
- Graphics Processing Unit (GPU)
- Motherboard
- Memory (RAM)
- Storage (SSD/HDD)
- Power Supply Unit (PSU)
- Case
- Cooling System (Air/Liquid)
- Operating System (OS)
Each component plays a vital role in your PC’s overall functionality, so research and select carefully.
Selecting Components for a Gaming PC
Central Processing Unit (CPU)
The CPU is the brain of your PC, handling all the instructions from your software. When selecting a CPU, balance between performance and price. Popular choices include AMD’s Ryzen series and Intel’s Core series. For gaming, a mid to high-end CPU from either brand will suffice, providing excellent performance in both current and future games.
Graphics Processing Unit (GPU)
The GPU is crucial for rendering images, videos, and animations. It directly impacts your gaming experience. NVIDIA’s GeForce RTX series and AMD’s Radeon RX series are top choices. Consider the resolution and refresh rate of your monitor when choosing a GPU. For 1080p gaming, a mid-range GPU will be sufficient, while 4K gaming requires a high-end model.
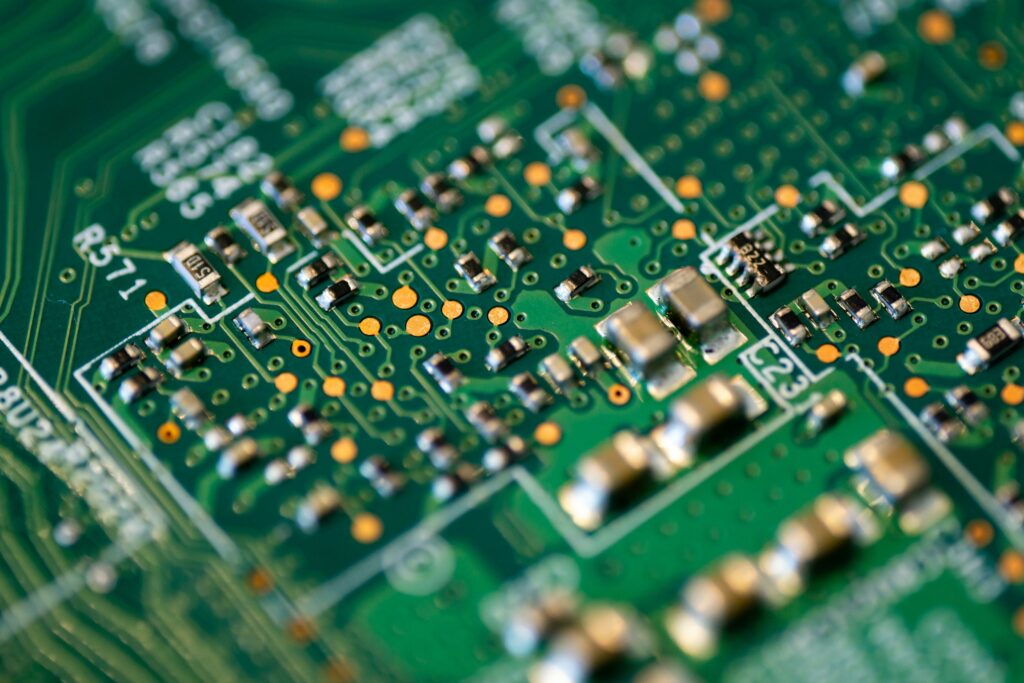
Motherboard
The motherboard is the backbone of your PC, connecting all the components. Ensure compatibility with your chosen CPU and that it has sufficient slots for RAM, storage, and PCIe devices. Look for features like USB ports, Wi-Fi, and overclocking support if needed. Reputable brands include ASUS, MSI, and Gigabyte.
Memory (RAM)
RAM is critical for multitasking and smooth gaming performance. For most gaming setups, 16GB of DDR4 RAM is ideal, though 32GB offers better future-proofing. Ensure the RAM’s clock speed and latency are suitable for your motherboard and CPU to maximize performance.
Storage
Fast storage improves load times and overall system responsiveness. An SSD (Solid State Drive) is essential for your operating system and games, while an HDD (Hard Disk Drive) offers additional storage for larger files. NVMe SSDs, which use the PCIe interface, provide faster speeds than traditional SATA SSDs.
Power Supply Unit (PSU)
A reliable PSU is vital for system stability and longevity. Choose a PSU with enough wattage to power all your components and future upgrades. Look for 80 PLUS certification for efficiency and reliability. Modular PSUs allow for easier cable management, improving airflow within the case.
Case
The case houses and protects all your components. Choose a case that fits your build and provides adequate cooling and airflow. Cases come in various sizes, with Mid Tower and Full Tower being the most common for gaming PCs. Consider features like cable management options, dust filters, and tempered glass panels for aesthetics.
Cooling System
Effective cooling ensures your PC runs smoothly and extends the lifespan of your components. Air cooling is sufficient for most builds and involves fans and heatsinks. For better performance and lower noise, consider liquid cooling, which can be either an All-In-One (AIO) unit or a custom loop.
Operating System (OS)
Windows is the preferred operating system for gaming due to its compatibility with a wide range of games and software. Ensure you have a valid license and installation media for Windows.
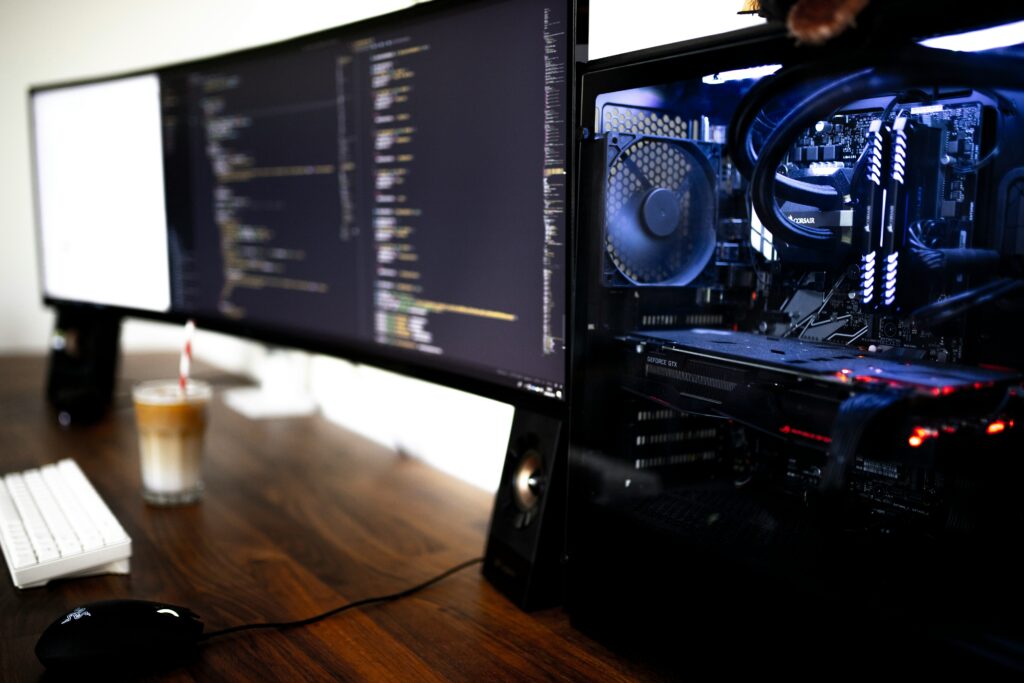
Assembling Your Gaming PC
Gather Your Tools
Before starting the assembly, gather the necessary tools and accessories:
- A Phillips-head screwdriver
- An anti-static wrist strap to prevent static discharge
- Thermal paste (if not pre-applied on the CPU cooler)
- Cable ties for cable management
Step-by-Step Assembly
Step 1. Prepare Your Workspace
Set up a clean, well-lit, and static-free environment to work in. Lay out all your components and tools on a non-conductive surface, such as a wooden table.
Step 2. Install the CPU
- Open the CPU socket on the motherboard by lifting the retention arm.
- Align the CPU with the socket, matching the marked corners.
- Gently place the CPU into the socket without applying pressure.
- Lower the retention arm to secure the CPU in place.
Step 3. Install the RAM
- Open the RAM slots on the motherboard by pushing back the clips.
- Align the notch on the RAM stick with the slot.
- Firmly press the RAM stick into the slot until the clips snap back into place, securing the RAM.
Step 4. Install the Motherboard
- Install the I/O shield into the case.
- Align the motherboard with the standoffs in the case.
- Secure the motherboard to the standoffs using screws, ensuring it is firmly in place.
Step 6. Install the Storage
- Mount the SSD or HDD in the appropriate drive bays or brackets.
- Connect the storage device to the motherboard using SATA cables for SATA drives or slotting an NVMe SSD into the M.2 slot.
- Secure the storage device with screws if necessary.
Step 7. Install the PSU
- Position the PSU in the case, typically at the bottom or top, depending on the case design.
Secure the PSU with screws. - Connect the PSU cables to the motherboard, GPU, storage devices, and any other components requiring power.
Step 8. Install the GPU
- Open the PCIe slot on the motherboard by removing the corresponding bracket covers on the case.
- Align the GPU with the PCIe slot and gently press it in until it clicks.
- Secure the GPU to the case with screws.
Step 9. Install the Cooling System
- For air cooling, attach the CPU cooler to the CPU with screws or clips, applying thermal paste if it is not pre-applied.
- For liquid cooling, mount the radiator in the case and connect the pump to the CPU. Ensure the cooling fans are oriented to optimize airflow.
Step 10. Cable Management
Organize your cables to ensure good airflow and a clean appearance. Use cable ties to secure cables and route them through the case’s cable management features.
Powering Up and Installing the OS of Your Gaming PC
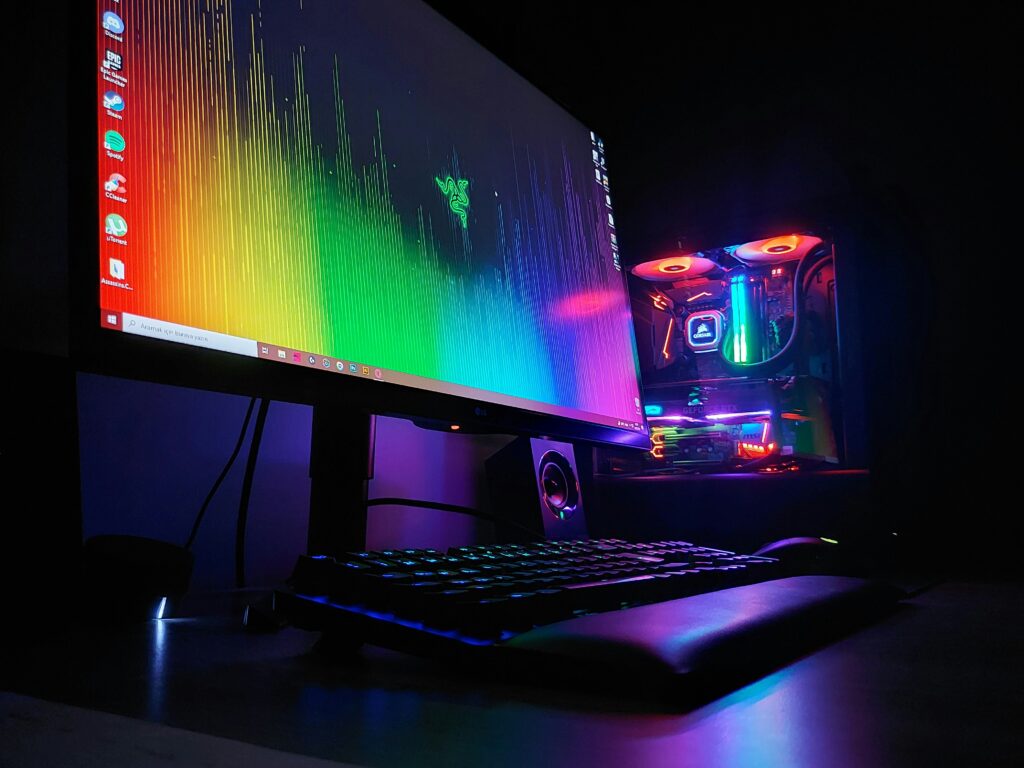
Initial Power-Up
- Connect your monitor, keyboard, and mouse to your PC.
- Plug in the power cable and switch on the PSU.
- Press the power button on the case to turn on the PC.
- Enter the BIOS/UEFI by pressing the designated key (usually Del or F2) during startup.
- Verify that all components are recognized correctly in the BIOS/UEFI.
Installing the OS
- Insert the Windows installation media (USB drive or DVD) into the PC.
- Restart the PC and boot from the installation media by selecting it in the BIOS/UEFI boot menu.
- Follow the on-screen instructions to install Windows, including selecting the installation drive and creating a user account.
- Once Windows is installed, connect to the internet and allow it to download updates.
Post-Build Tips
Update Drivers and BIOS
After installing Windows, it’s essential to update all drivers to ensure optimal performance and compatibility. Visit the websites of your motherboard, GPU, and other component manufacturers to download and install the latest drivers. Updating the BIOS/UEFI can also resolve compatibility issues and improve system stability.
Monitor Temperatures
Use software like HWMonitor, Core Temp, or MSI Afterburner to monitor your system’s temperatures. Keeping an eye on your CPU and GPU temperatures helps ensure that your cooling solutions are effective and that your components are running within safe temperature ranges.
Overclocking
Overclocking can boost the performance of your CPU and GPU, but it requires careful tuning and adequate cooling. Most modern motherboards come with software to simplify the overclocking process. Increase the clock speeds gradually and test stability with programs like Prime95 or AIDA64 for the CPU and FurMark for the GPU.
Regular Maintenance
To keep your PC running smoothly, perform regular maintenance. Dust can accumulate inside the case, affecting airflow and cooling. Use compressed air to clean the interior every few months, focusing on fans, heatsinks, and filters. Ensure all connections remain secure and check for any signs of wear or damage.
Troubleshooting Common Issues
No Power or Boot
If your PC doesn’t power on or boot, follow these steps:
- Double-check all power connections, ensuring the 24-pin and 8-pin (or 4-pin) CPU power connectors are securely plugged in.
- Verify that the PSU switch is turned on.
- Ensure the motherboard standoffs are properly installed to prevent short circuits.
- Check the power button connection to the motherboard.
No Display
If your PC powers on but there’s no display:
- Ensure the GPU is correctly seated in the PCIe slot and that any required power cables are connected.
- Verify that the monitor is powered on and connected to the correct GPU output.
- Test with a different monitor or cable to rule out display issues.
- Reset the BIOS/UEFI by removing the CMOS battery for a few minutes and then reinserting it.
Overheating
If your system is overheating:
- Check that all fans are spinning and correctly oriented for optimal airflow.
- Ensure there is adequate ventilation around the case.
- Reapply thermal paste to the CPU if temperatures are unusually high.
- Consider adding more case fans or upgrading your cooling solution if necessary.
Conclusion
Building a gaming PC is a detailed yet highly rewarding process that allows you to tailor your system to your exact needs. By carefully planning your build, selecting the right components, and following meticulous assembly steps, you can create a powerful gaming rig capable of handling the latest games with ease.
Regular maintenance and updates will keep your PC running smoothly, providing you with an enjoyable gaming experience for years to come. Happy building!
One thought on “How to Build a Gaming PC? – A Comprehensive Guide”